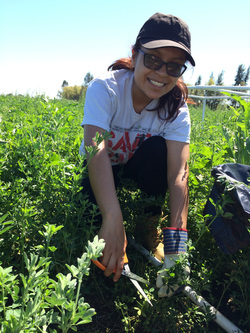
 Mayra harvesting alfalfa
 Time is flying! Yesterday the temperature hit 95 and tomorrow is the first day of May.
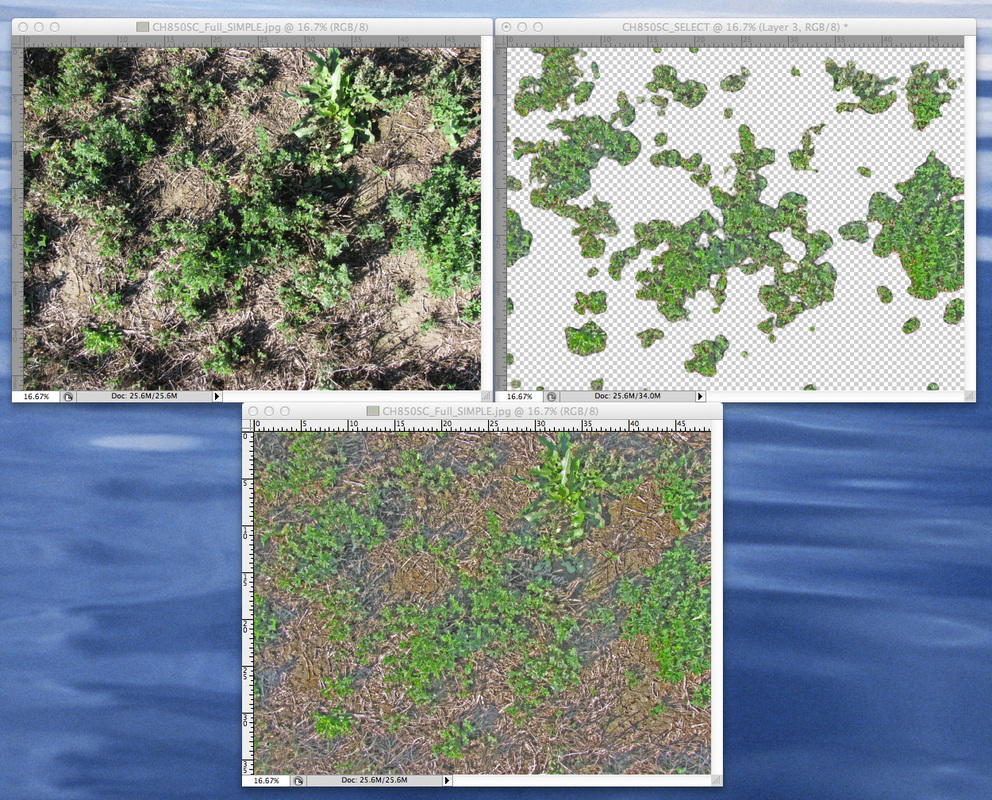
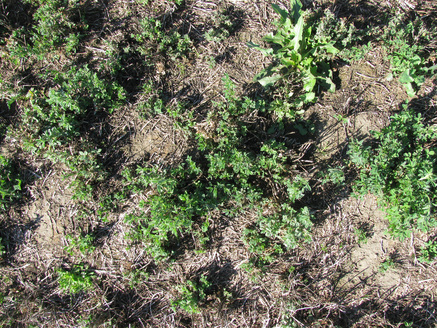
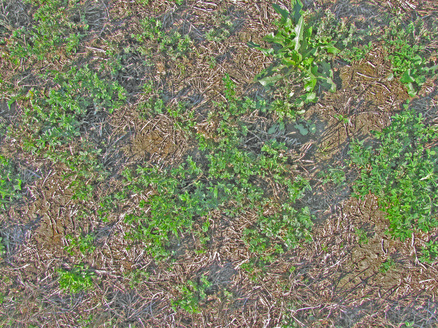
We've been busy in the #wildag experiment lately. It was a mad dash to harvest all of our alfalfa samples from the 19 fields we have set up exclosures in before the tractors started cutting. Harvesting involves setting up a quadrat that is slightly smaller than the exclosure itself (to avoid harvesting stems that may have been inside the exclosure on some visits and then outside on others), and then hand-cutting all of the alfalfa within it and bagging them up. In the lab, we then shake the L out of the samples (creating Afafa?) to knock weevils off of the stems and then sort and count all weevils into size classes. It's a labor-intensive job, but gives us a good chance of finding all of the weevils in our haystacks. The alfalfa samples are then weighed and dried in an oven for at least 2 weeks so we can eventually compare the number of weevils per pound of dry weight of alfalfa.
We're also in the middle of setting up most of the tomato exclosures. So far there haven't been any pest insects on the young plants, but as the weather warms up we're expecting to start seeing some damage.
I'm lucky to have a team of amazing interns and mentors who kept the project going while I was in the Great Smoky Mountains for a week-long Smith Fellows retreat. All of the interns are going to be adding their thoughts to this blog in the next few weeks- so keep an eye out for their bios to go up, and for their posts. I'm excited to see what they have to say!
Click on the 'Read More' link below to see the latest storify of our fieldwork adventures
 RSS Feed
